Making a spray of Blackberries.

With the nights drawing in and the misty mornings what better way is there to reflect the season than by making a spray of that quintessential autumn fruit, the blackberry.
In this tutorial I will take you through the stages of making your own fruits.
To start with you will need the following materials. I have listed everything as there is nothing worse than settling down to a bit of sewing only to find that your scissors are on the other side of the room.
Materials:
Green felt
Green thread (to match the felt if possible)
32 gauge paper covered floristry wires
2.5cm circular template, I used a 10p piece but you can make whatever size you choose
Size 10 embroidery needles
Size 8 and 11 beads in suitable colours. I have used opaque black,
metallic dark plum iris, opaque red, and different shades of green
Toy stuffing
Stranded cotton for covering stalks (for the next tutorial) in green or red
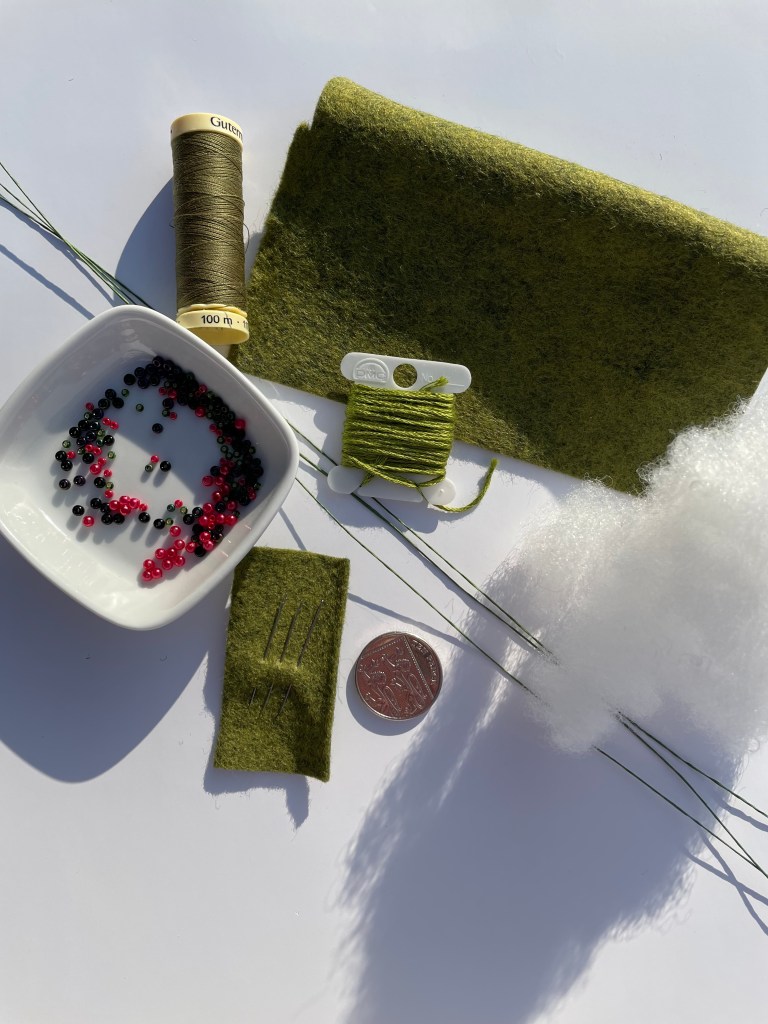
You will also need a pen or a pencil, to draw round the stencil, and a pair of scissors, to cut out the felt and cutting thread. You may want to use household scissors to cut the floristry wire rather than your best embroidery ones.
Process:
- Place your template onto the felt and draw around it
- Cut out the circle
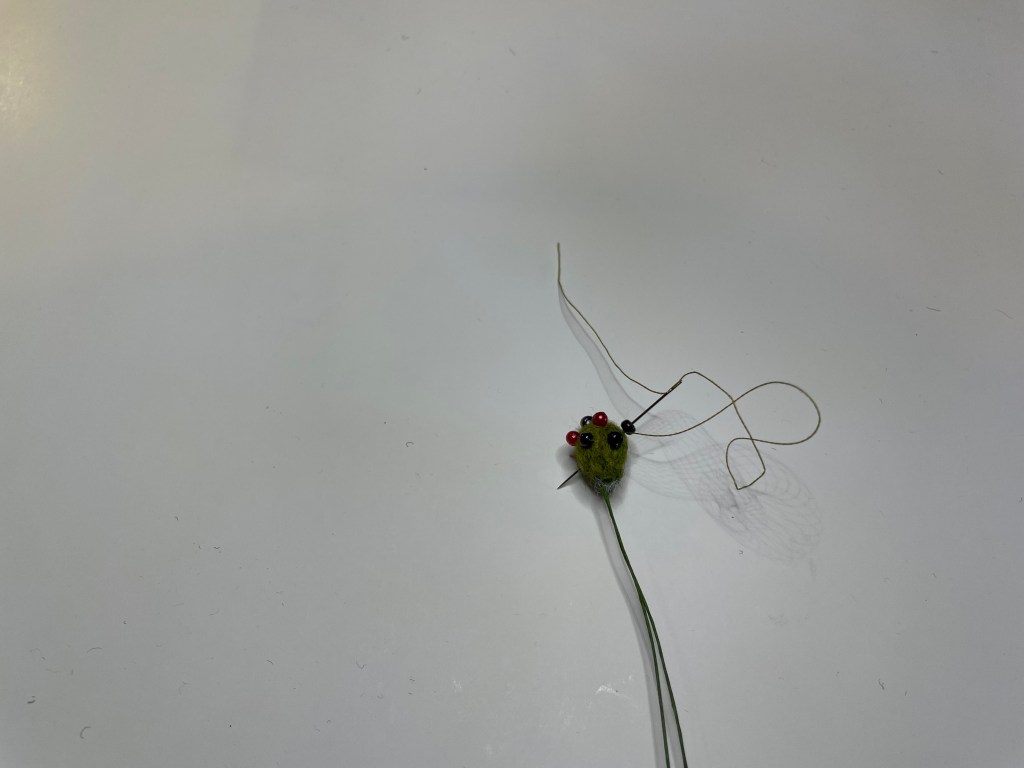
- Cut the floristry wire in half and place it place it across the diameter of the felt circle
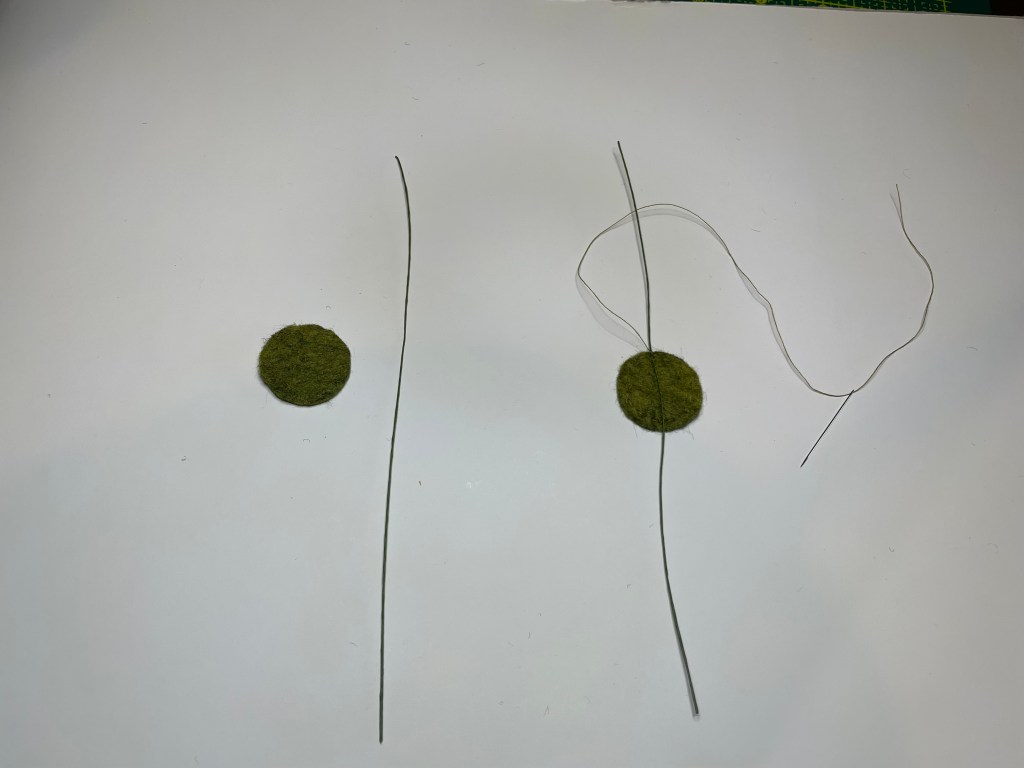
4. Attach the wire to the felt using small stitches. You can either finish off your stitches here or carry on to the next stage but, if the latter, place a couple of small holding stitches at the end.
5. Stitch around the circumference of the circle, using a small running stitch,
approximately 3mm form the edge. Leave the tail of the thread.
6. Pull the thread tail to gather up the edges making sure that the wire is on the
inside.
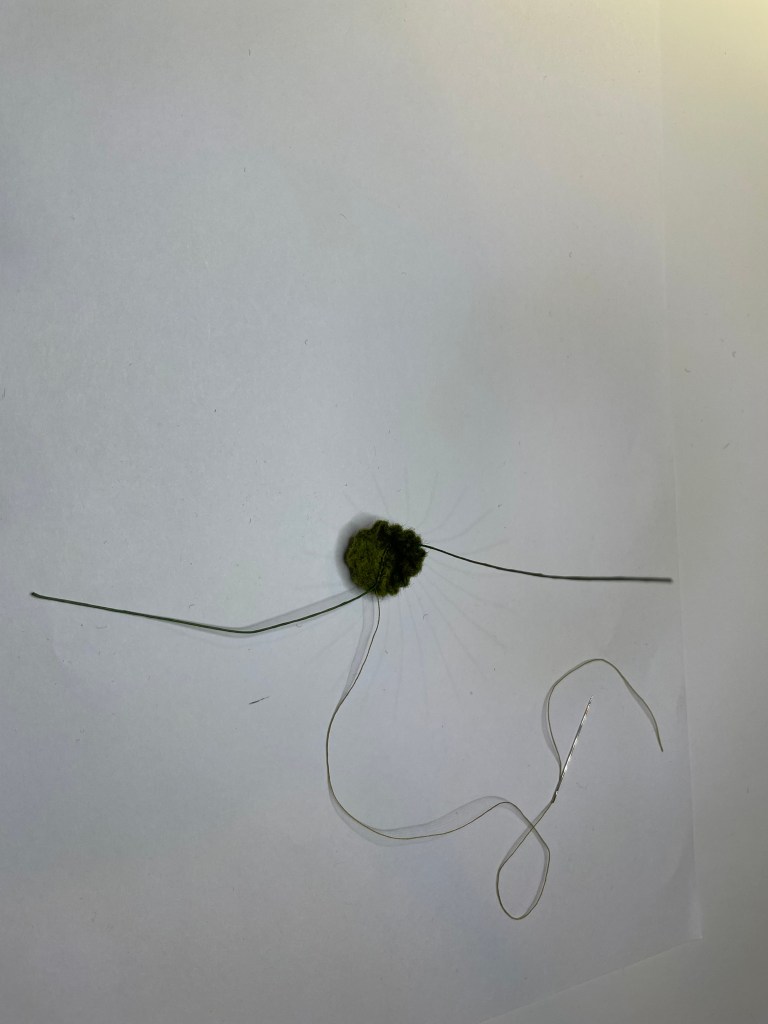
When the edges are close together insert a small piece of the stuffing. You may need to use the end of your pen to pack it in
7. Pull the edges tightly together and sew through the bottom of the berry to secure the edges.
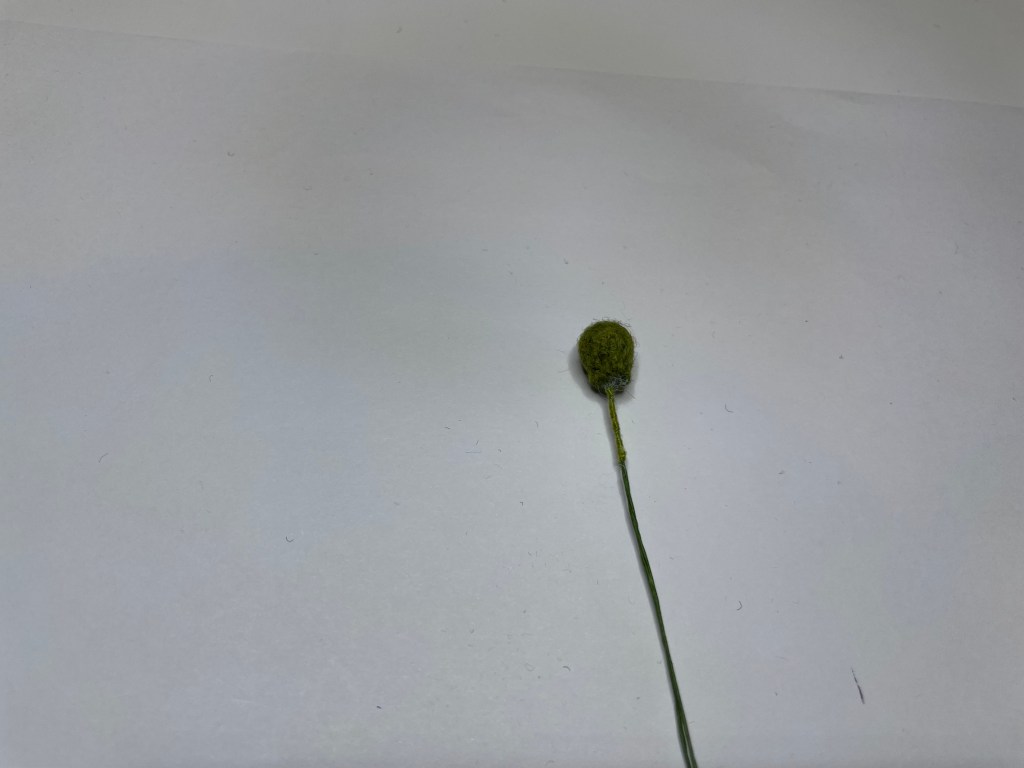
8. Rethread the needle and attach it to the berry. It doesn’t matter where.
9. Sew the beads on in a random manner, passing the needle through the berry as you do so. Keep attaching the beads until they are tightly packed.
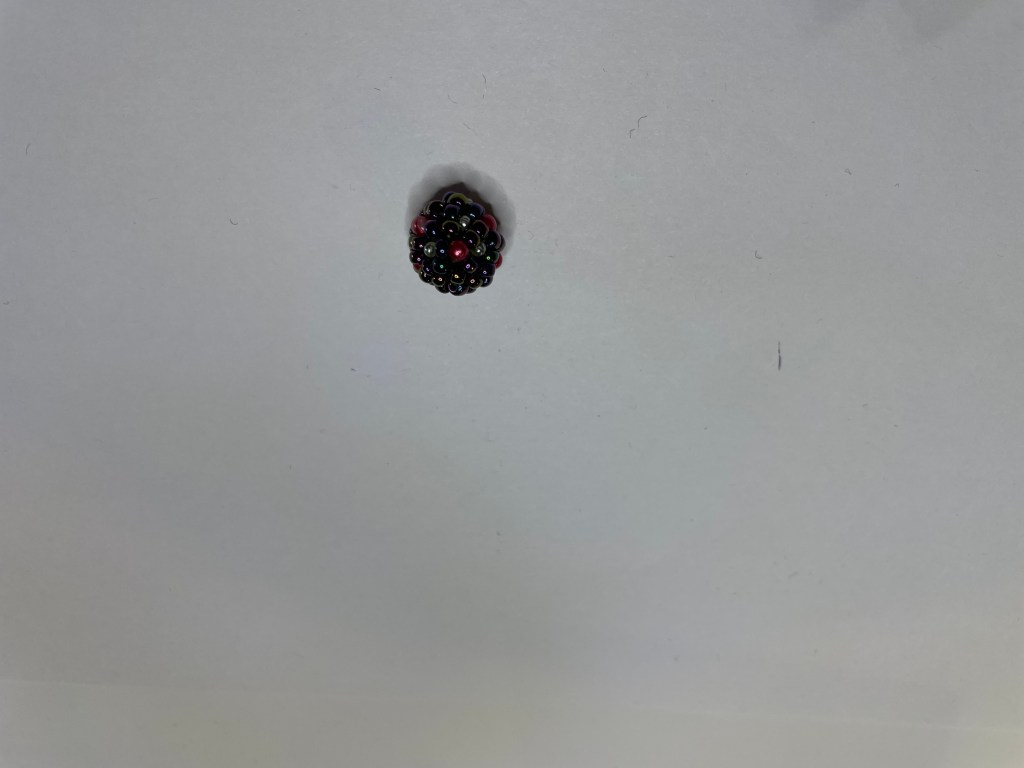
10. Carry on to make several berries of different sizes so that you have enough
to create a spray.
In the next tutorial I will show you how to finish off the stems and attach them
together
I hope you enjoyed this tutorial. Happy sewing.
